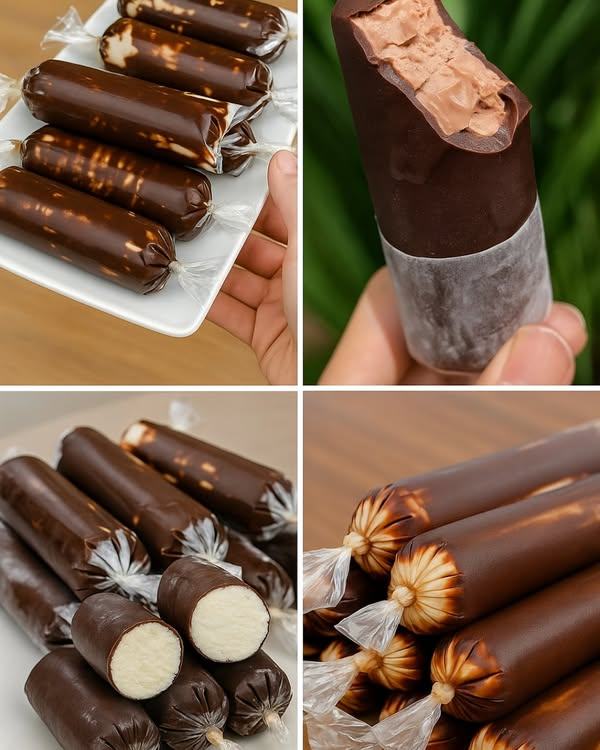

Shake Your Way to Dessert Bliss: DIY Chocolate Ice Cream in a Bag
No fancy equipment? No worries. This easy chocolate ice cream in a bag recipe delivers rich, creamy results using only a few basic ingredients—and a little muscle. Whether you’re planning a family activity, a summer science project, or just craving dessert in a hurry, this method is both fun and delicious.
Why Make Ice Cream in a Bag?
This isn’t just a shortcut—it’s a cool experiment in kitchen science. The magic lies in how salt lowers the freezing point of ice, which allows the cream mixture to chill and firm up into smooth, scoopable ice cream. Plus, it’s a hands-on way to get kids involved and curious in the kitchen.
Ingredients
- 500 ml single cream or heavy cream
- 400 ml sweetened condensed milk
- 200 g dark or milk chocolate, chopped
- 1 tbsp cocoa powder (optional, for deeper flavor)
- 1 tsp vanilla extract
- Pinch of salt
- Ice cubes (enough to fill half a large bag)
- 1/3 cup rock salt or coarse salt
- 1 small resealable plastic bag
- 1 large resealable plastic bag
- Toppings of your choice (sprinkles, crushed nuts, chocolate chips, etc.)
Step-by-Step Instructions
1. Make the Ice Cream Base
Melt the chopped chocolate gently in a saucepan over low heat until smooth. In a large bowl, mix together the melted chocolate, cream, condensed milk, vanilla, salt, and cocoa powder (if using). Stir until smooth and fully combined.
2. Prep the Bags
Pour the chocolate mixture into the small plastic bag. Seal it tightly, pressing out as much air as possible.
Fill the large plastic bag halfway with ice and rock salt, then place the small bag inside. Seal the large bag securely.
3. Shake to Freeze
Shake the bag hard for 5–10 minutes. The ice cream mixture will slowly begin to firm up.
Tip: Use oven mitts or wrap the bag in a towel to protect your hands from the cold.
4. Serve
Once the ice cream is firm enough, remove the small bag, wipe off any salt from the outside, and open it up. Scoop into bowls and top as desired. Enjoy your homemade treat!
Pro Tips
- Double Bag It: Want extra protection against leaks? Use two small bags to hold the ice cream mixture.
- Customize Your Flavors: Add mint extract, orange zest, crushed cookies, or even peanut butter for variety.
- Store Leftovers: If you don’t finish the batch, freeze it in an airtight container. Let it soften slightly before scooping again.
The Science Behind It
The trick to this method is freezing point depression. When salt is added to ice, it lowers its freezing point, causing the ice to melt while absorbing heat from its surroundings. In this case, that means the ice draws heat from the chocolate mixture, helping it freeze—without needing an ice cream maker.
It’s an edible experiment that’s just as fun as it is tasty.
Final Thoughts
Making chocolate ice cream in a bag is more than just a dessert—it’s a hands-on experience that blends fun, flavor, and learning. Whether you’re whipping it up for a school project, a party, or a spontaneous kitchen adventure, this method offers a quick, delicious reward.
No machine. No waiting. Just shake and scoop your way to dessert bliss.

Comments are closed, but trackbacks and pingbacks are open.